

This past Sunday I had one of the most fascinating experiences I’ve had in ages. This particular group of people was given an opportunity to take a class in Hilo at Kim’s home, one of the Slow Food Hawai`i members. She lives in a section of Old Hilo that has a view of the ocean. . .

. . . and of St. Andrew’s Catholic Church.

Fortunately, we had Chef Sandy Barr-Riviera, an instructor with Hawai`i Community College culinary department, to teach us and to help with some of the side steps, like dissolving the rennet and citric acid in water (2 separate steps), while we all anxiously kept peering into our pots to see if it was cheese yet.

Here, Chef Sandy is helping Bill Stein, head of the Department of Agriculture at UH Hilo.

We worked in pairs since the stove space was limited. That gave those of us who weren’t brave enough to go first an opportunity to watch and see if it all worked. Sara and I were the third pair. Here she is hard at work.

Sonia Martinez, a friend who is also a food and gardening blogger, was part of the class. I took pictures of her working, then she took pictures of me at work. Be sure to read her version of what happened in the class, and to see more pictures. Here is a picture of Sonia (in the back) and Chef Sandy (in front).

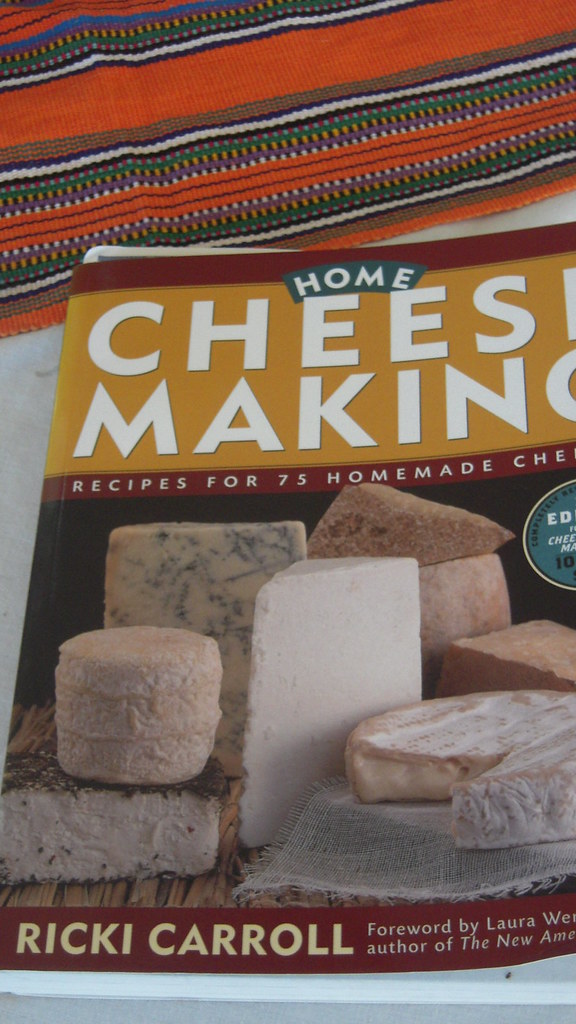
I have inserted photos showing the process I went through. You can get an idea of how it looks as you work through the steps. Home Cheese Making by Ricki Carroll is the “go to” book for making cheese at home. You can order it from Amazon here: <a href="Home Cheese Making: Recipes for 75 Delicious Cheeses”
Cheese making supplies and all sorts of other information can be found at http://cheesemaking.com.
Instructions (ingredients included in the narrative):
A gallon of milk takes up a lot of room, so be sure you use a large enough pan. I used a 6-quart Cuisinart pan that was adequate. Also, let me preface this list by saying that the procedure is so much easier than it looks here. I’ve divided the steps so it’s simple to follow, but I know it looks like there’s more to it than there really is.
• Using a thermometer for accuracy, bring the milk to 50 degrees.
• Then add 1 1/2 teaspoons of citric acid that has been crushed and dissolved in 1 cup of bottled water. The reason you want to use bottled water is to make sure you don’t have any chlorine in the water at all. Chlorine will completely stop the process and you’ll never get cheese.
• Continue stirring over heat until the temperature is around 95 degrees.

• At this point, add 1/4 of a tablet of rennet that has been dissolved in 1/4 cup bottled water. One trick Sandy showed us was to pour the dissolved substances through a skimmer to make sure it is evenly distributed over the milk. (I’m smiling because it looks like something is starting to happen!)

• Stir again, and remove from heat and let it sit for about 10-15 minutes.
• The whey should be starting to separate from the curd. Check this by pressing a spoon down in the mixture enough to see if there is good clear whey. This was an almost clear, yellow/greenish liquid. The curd looks like cottage cheese.

• Using a long knife (like a bread knife), criss-cross cut the curd into pieces that are about 3/4 inch square. Actually, mine didn’t cut that cleanly, but after slicing my knife around for a while, the curds were adequately small (but not too small).

• Put the pot back on the heat for a little longer, stirring again until the temperature reaches 105 degrees. It doesn’t take long so keep a close eye on it.
• Take it off the heat again and continue stirring for a few minutes.
• Have a good glass microwavable bowl handy. With your skimmer, lift the curds out of the whey and into a sieve.

• Press the whey out gently and put the curds into the glass bowl.

• Repeat this process until you have all the curds out of the pot. You will need to keep draining the whey as it tends to keep “weeping” as you work.
• Once all the curds are out of the whey, use a funnel and pour the whey into your empty gallon milk jug. Keep the whey and use it to make ricotta, or give it to your chickens in their water to get bigger and richer eggs.
• Now put the bowl of drained curd in the microwave on high for 1 minute.

• Take it out, stir in 1 to 1 1/2 teaspoons fine salt. I only used 1 teaspoon as I don’t like my cheese too salty. One teaspoon was still a bit salty for me, but okay.

• Then microwave again for 30 seconds. Take it out, stir a little and let it run from the spoon to check on the consistency.

• Mine wasn’t quite ready after this 30 second nuking, so I did another 30 seconds. You will need to judge your own cheese. It may even take a third nuking.
• Taking your big spoon, stir it around (almost like kneading bread) until it is shiny and thick. Sneak a little taste if you want!

• We’re almost finished! Scoop out a ball of the mozzarella that is 1 1/2 to 2 inches in diameter and roll it in your hands.

• Sonia got 6 large balls of the cheese and I got 10, but mine were a bit smaller than hers.
• Drop these balls of cheese into a larger bowl filled with ice and water. This stops the cooking process.

• After about 10 or 15 minutes, you can scoop them out and put them in a container to keep.
• I put each of my cheese balls into a little plastic sandwich bag once I got home and closed them with a twistie. I kept one out to eat on a cracker. I have never tasted such delicious cheese!
While I was working, I kept thinking about Little Miss Muffet sitting on her tuffet, eating her curds and whey. I wonder if she had been making mozzarella, too?
NOTE: We were told to bring a gallon of Mountain Apple brand whole milk. This is local milk, and not pasturized several times like the milk from the mainland. I would like to experiment with lowfat or nonfat milk. We were also given a list of utensils to bring with us.
a cooking thermometer that registers from 90-110 degrees (if you have)
a heavy bottomed pot with a lid that will hold a gallon of milk
a long knife (bread knife will do) to cut the curd
a 3-4 cup capacity tupperware bowl (or similar) for taking home the cheese
clean dish towel
a slotted skimmer if you have
a large spoon to work the curds
a sieve
a funnel to put the whey into your empty milk bottle
I didn’t have a thermometer, but there were several available that we all shared. There were also extra bowls for microwaving the cheese. I can see I need to buy my own thermometer if I’m going to make more cheese (and I plan to)! The class was provided with the rennet (the tablets shown below), citric acid and salt.

Mahalo to Sonia who took all the pictures of me, mahalo to Sandy for teaching us, mahalo to Kim for the use of her kitchen (it will never be the same), and mahalo to the rest of the class for participating. We couldn’t have done it without each other!
It’s mozzarella!

If you get a chance to take this class in the future, I know you won’t be disappointed. The result may not look as “perfect” as what you see in the store, but the taste is far superior!
A hui hou!